Snack Bag Construction
I've made a few of these bags to help replace plastic zip-top bags in my lunch. These are the instructions for a "snack" size bag, which is as wide as a sandwich bag, but only half as tall. The basic procedure is easily adapted to a full sandwich bag.
The finished size is approximately 6.5 inches wide by 3.5 inches tall for the snack bag, and 7 inches tall for a full sandwich bag.
These bags are not watertight, but they're good enough for veggies, nuts, apples, and so on.
Materials
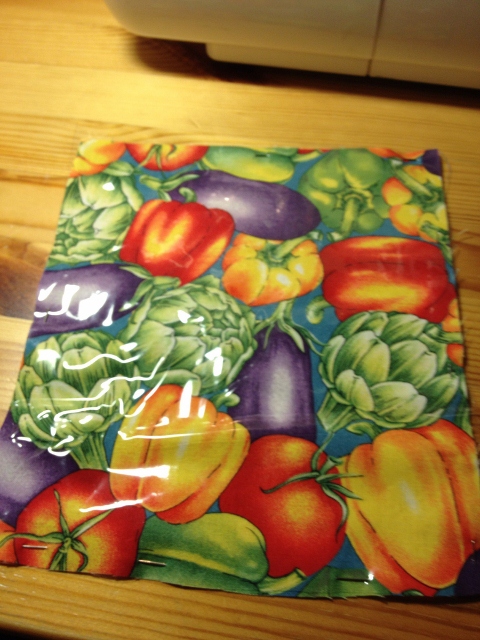
- Fabric, lightweight cotton works well
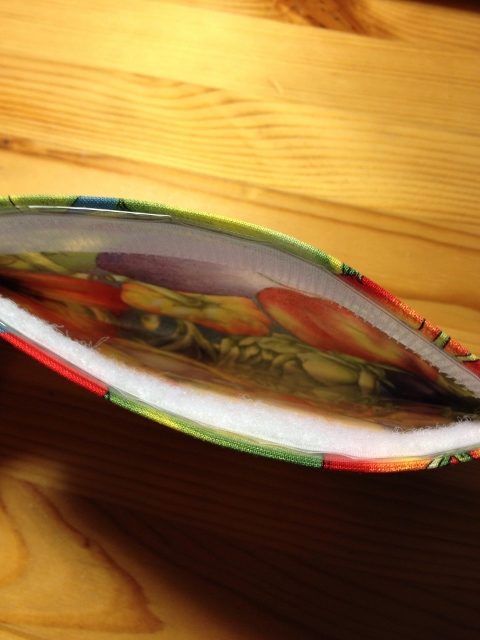
- Lining, lightweight plastic works best, but anything water-resistant should work
- Velcro, 0.75 inches wide
- Thread
Directions
- Cut one piece of fabric and one piece of plastic lining, 7.5 inches by 8.5 inches.
- If making a full sandwich bag size, cut the pieces as 7.5 inches by 15 inches.
- Place the pieces with right sides together.
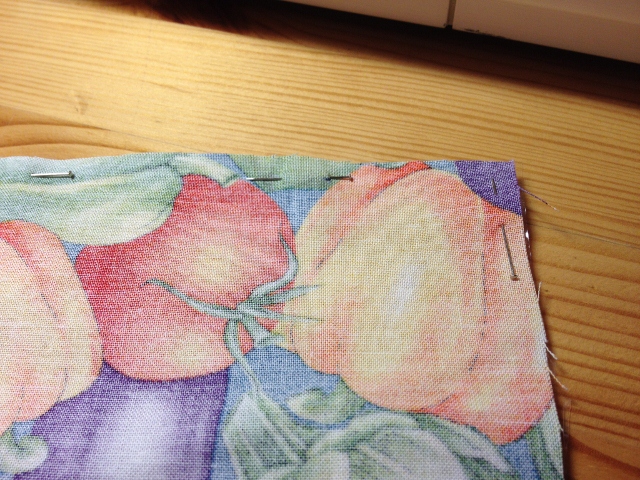
- Pin the pieces together, inside the 0.5 seam allowance, along the long sides.
- Pin only within the seam allowance because once you pierce the plastic, that's it.
- Pin with the plastic lining down because otherwise it will get stuck on the sewing foot and pucker the fabric.
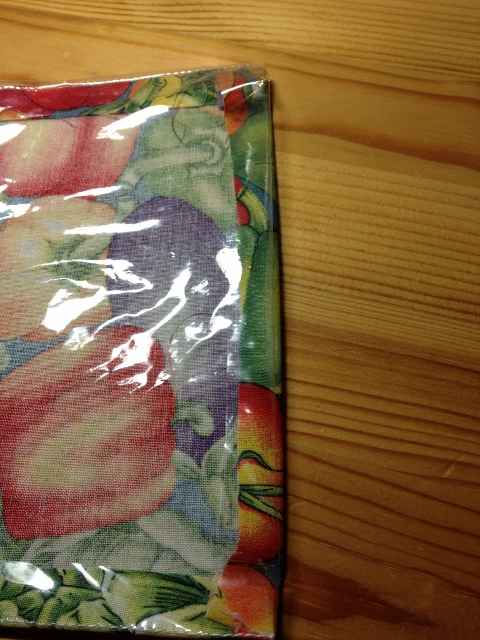
- Sew the long sides together.
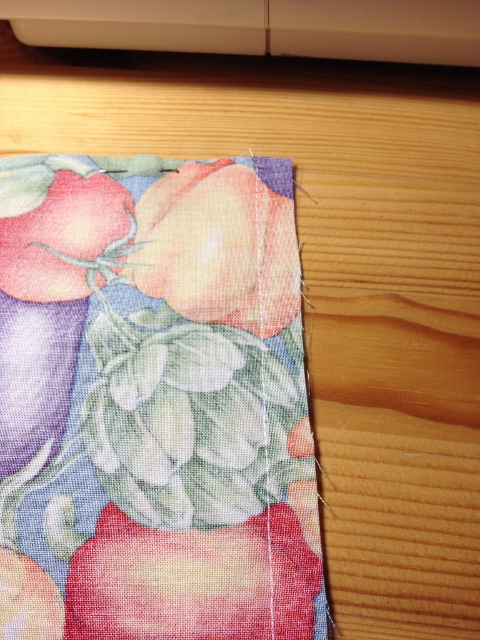
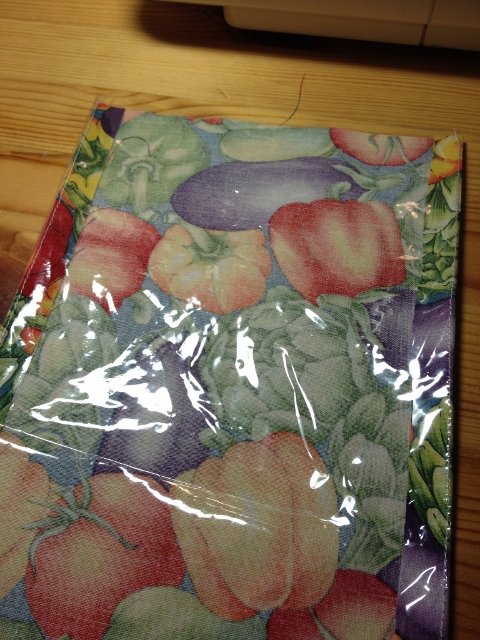
- Turn inside out. Press, if you're daring. (Careful! It's plastic!)
- On the short end, turn under a 0.5 inch hem.
- Optional - Pin and hem close to the outside edge.
- Cut a piece of 0.75 inch wide velcro 6 inches long.
- Pin the velcro to the short ends, 0.25 inches from the end and sides.
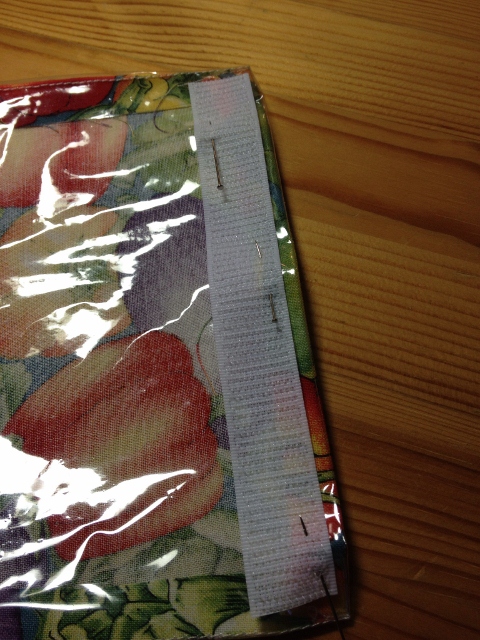
- Sew on the velcro.
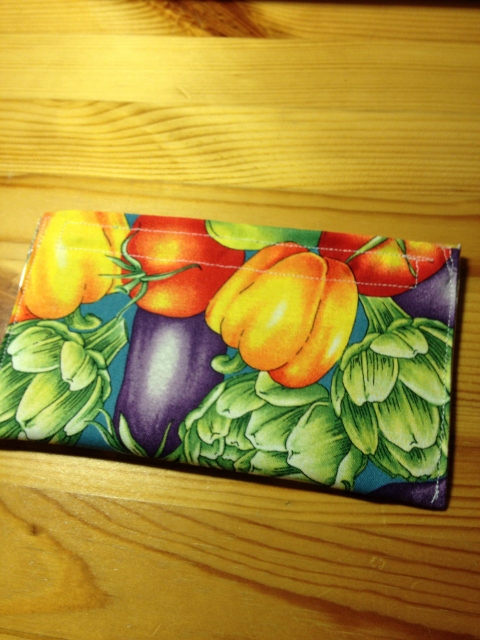
- Fold the bag and attach the velcro.
- Sew up the sides near to the outer edges.
Tip: I found it easier to cut straight lines (or at least matching crooked lines) by cutting on the fold. If you do that, the size is 4.25 inches for the snack bag and 8.5 inches for the sandwich bag.